Easy No-Bake Football Shaped Cookies are perfect for the big game, Friday Night Football games, or even a Football themed party.
One of my favorite kitchen timesaver hacks is using store-bought cookies and pastries for my semi-homemade recipes!
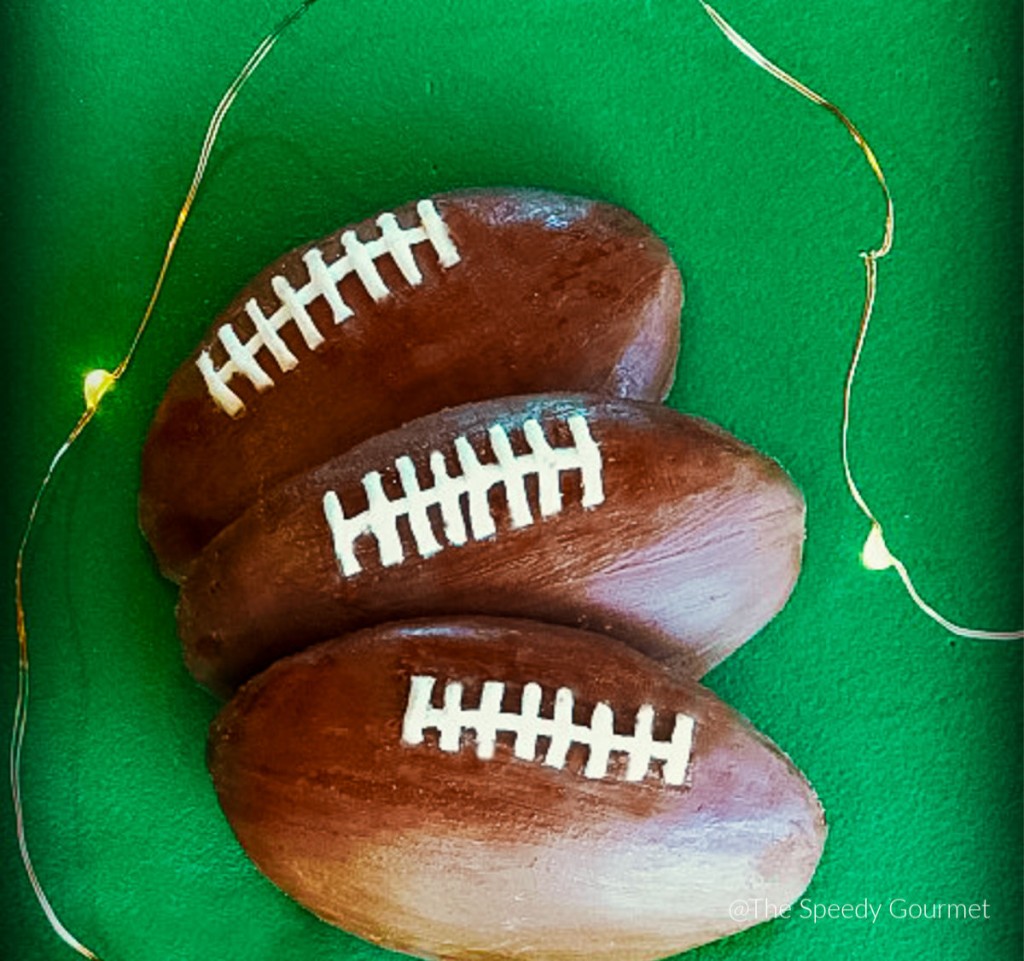
These football cookies just might just be the MVP’s of your food table – they will definitely make the perfect centerpiece amongst all of your football themed party food!
Before you started making these No-Bake Football Shaped Cookies, here are a few helpful tips!
No Bake Football Cookies
What I love about these cookies is the “no-bake” part. Usually when I am going to be making cookies that will be decorated, I am exhausted after making the dough, waiting for it to chill, rolling it out, cutting it into shapes, baking them, then waiting for the cookies to cool. By the time it comes to decorating, I usually don’t feel like giving it my “all”.
To me, the beauty of using quality store bought Madeleine cookies is that I can get right to decorating, and spend all of my time and efforts doing just that.
Mine were a little lumpy after the first coat of chocolate, but that’s okay. I took a sharp paring knife and evened them out before applying the next layer of chocolate. I did several layers, as I wanted to build them up so they would look more like real footballs.
PRACTICE FIRST
The time required on decorating these football cookies is actually minimal once you practice on a couple of cookies first to get the hang of it. There was some trial and error on my part, but once I figured it out, it was a breeze. I have included some tips that should make the decorating portion go smoothly for you.
I think the best way to practice would be to go ahead and paint chocolate on one cookie and refrigerate it. Practice the lacing and refrigerate it. If it doesn’t look good, scrape it off and try again. Repeat until you figure out the method that works best for you, then continue with the rest.
DON’T RUSH
I mentioned above about how much time is saved by not baking the cookies, and it is true. I learned however, that it is worth the time it takes with the first 2 or 3 cookies to go very slowly so you can master your method before proceeding. This will save you time and frustration with the remainder of your football cookies. Trust me.
ALLOW PLENTY OF WORK SPACE
You’ll want to make some space on the counter for this project AND allow for space on your cookie sheets between the cookies. If you put them too close together and them try to maneuver them later, that could be bad. After all of your hard work, you don’t want them to accidentally touch each other and scrape or smear your hard work.
HAVE FUN!
Get creative when you plate your finished No-bake football Cookies! If you can find a sheet of grass like material, that would be perfect. Or you can dress up green construction paper, or perhaps even scrapbook paper on a plate.
WHAT SUPPLIES AND INGREDIENTS ARE NEEDED TO MAKE THESE FOOTBALL COOKIES?
The only ingredients you will need are Madeleine cookies, chocolate chips, and white icing. As far as supplies go, all you will need is decorating tips, a paintbrush, and toothpicks.
The possibilities are endless, but one thing is sure – your guests are going to love these No-bake Football Shaped Cookies, using store bought Madeleine cookies! Your football cookies are going to be the hit of your party!
If you’re looking for more Super Bowl party food, why not try our Game Day Clam Dip for a football party appetizer?
[ingredients title=”Ingredients”]
- 12 Madeleine cookies
- 1 cup milk or semi-sweet chocolate chips
- 1 tube white icing + decorating tips
- 3 – New, clean, soft bristle flat paintbrush about 1/4″ or 3/8″.
- Toothpicks
[/ingredients]
[directions title=”Directions”]
Start off by using a small, sharp paring knife to trim each madeleine cookie, mostly on the wide, rounded side, to look like a football. Don’t trim too much off – start with just a little bit and work from there. When you are finished, place them on a plate.
Next, place a large sheet of parchment paper on a baking sheet.
Then, start with 1/2 cup of the chocolate and melt in small bowl in microwave. Melt in in 30 second increments, stirring in between each time. When done, stir completely to make sure all lumps are out. Chocolate should be smooth and shiny.
First Coating of Chocolate
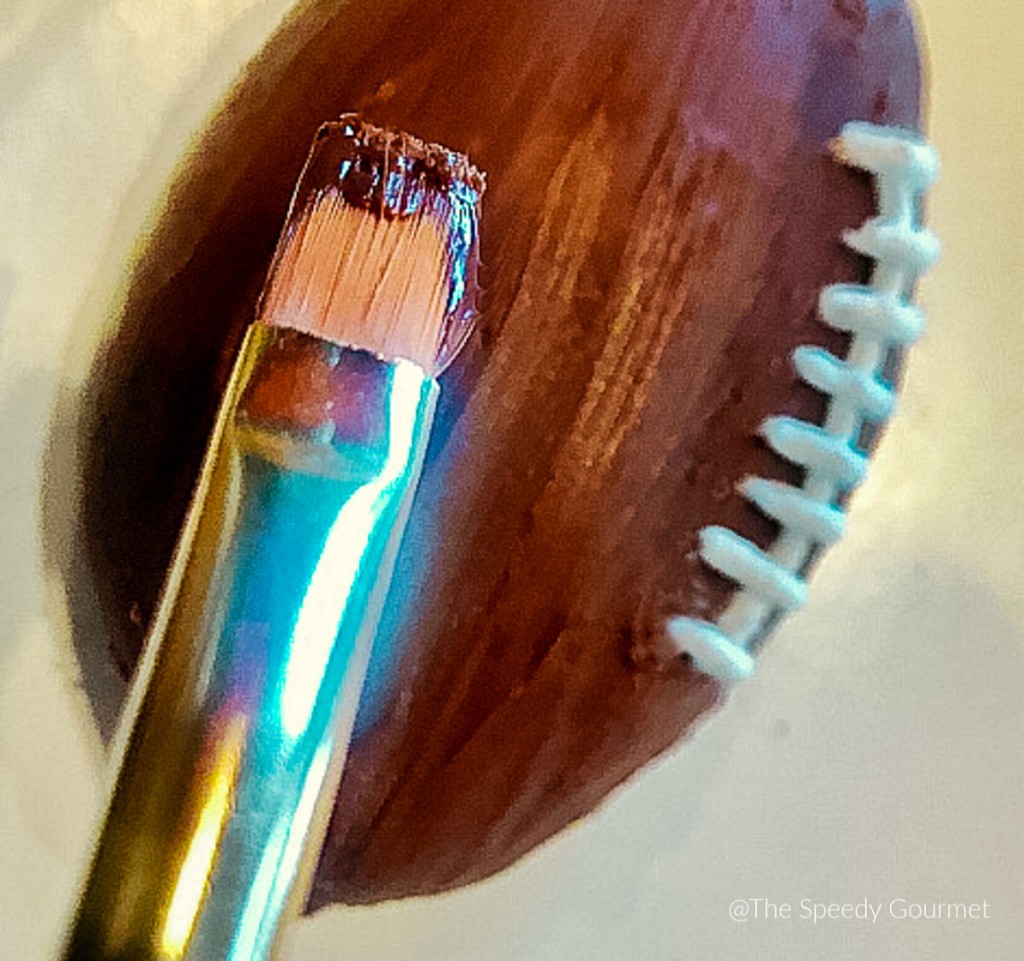
Using paint brush, pick up one cookie at a time and paint a smooth coating of chocolate over entire cookie, making sure to get edges. Set on parchment lined cookie sheet.
Continue until all cookies have one coating of chocolate. You may need to rinse your brush in hot water, and warm the chocolate again several times during this process. Refrigerate for 10-20 minutes
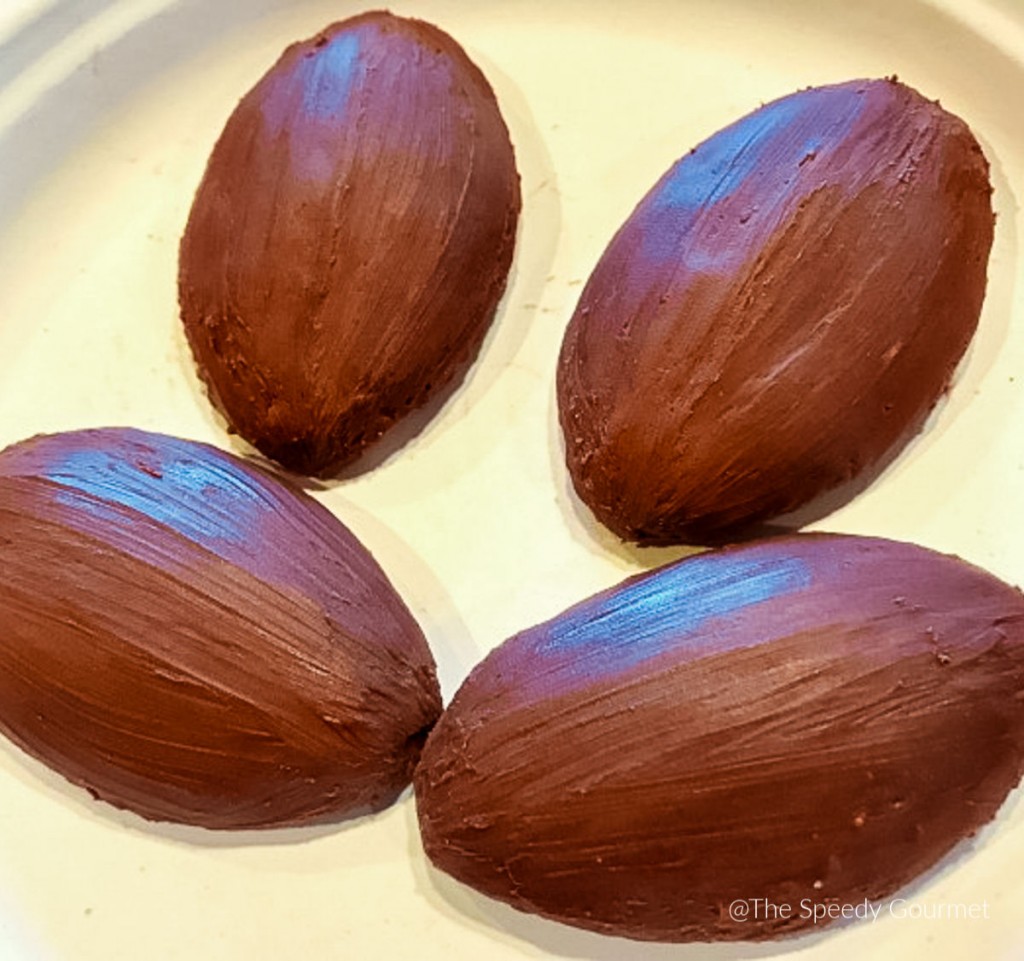
Second Coating of Chocolate
Repeat the coating process, and refrigerate.
Applying the Lacing
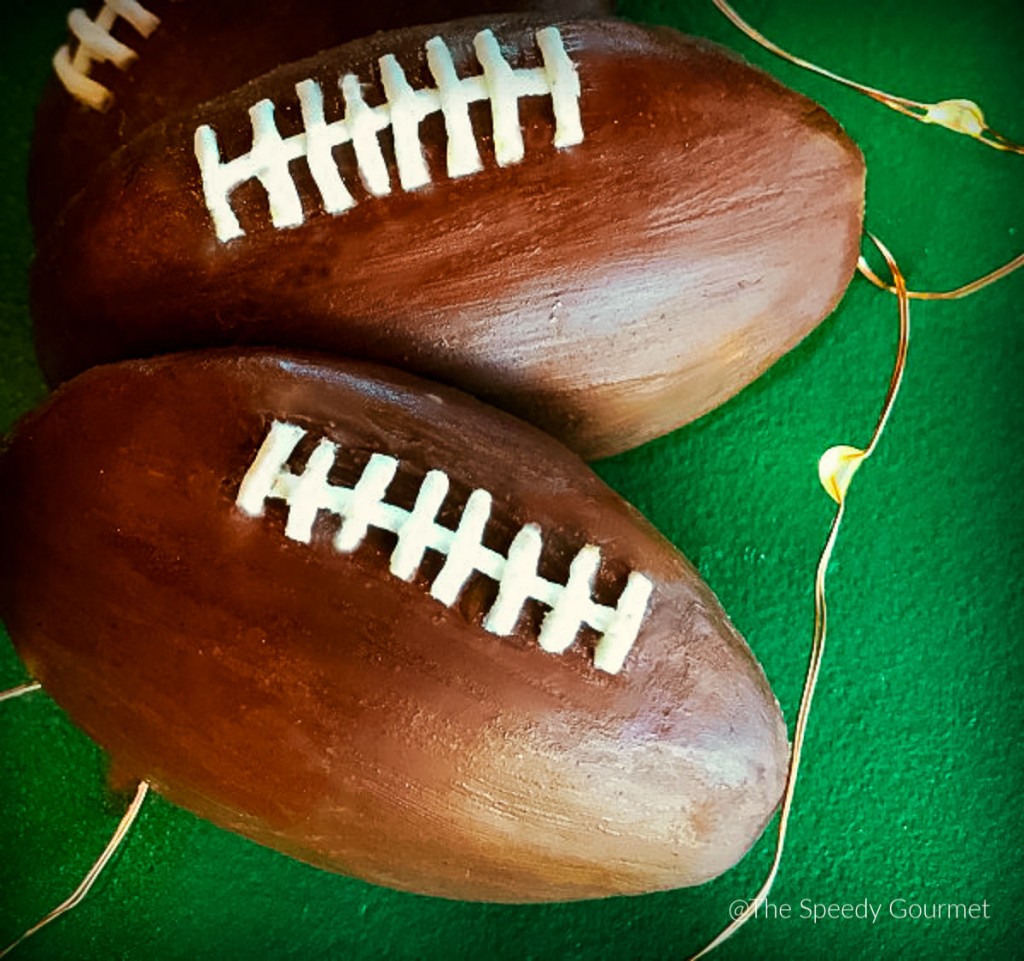
Remove a few of the cookies from the refrigerator at a time (to add lacing (to avoid chocolate melting in your hand). Using the white icing tube with a fine tip, squeeze a single line about 3/4 of the way up the cookie, slightly curved., leaving about 5/8″ or so on each side (between line and edges of cookie).
After you have the 8 cross laces, cut off the excess of the long lace at both ends. Using a toothpick and your clean paring knife, cut the ends of the laces to make them even. When you do the cut, gently “flip” them away to avoid disturbing the chocolate. Tidy up the laces as much as you can.
This next step you can do now, or a bit before your party if necessary. Melt a little more chocolate and paint it on the cookies to give it a fresh coat or touch up before serving. For a little extra sheen, put a drop or two of vegetable oil in the chocolate after you melt it.
Plate the football cookies carefully – in a single layer if possible. You may want to keep them refrigerated (or in a cool area) until you are ready to put them out on your food table.
Key Tips to Remember when making these football shaped cookies:
Make 8 evenly placed “lace” lines across the long lace, centering on the cookie (don’t worry about the extra ends on the long lace).
As you squeeze tube, king of “guide” the icing, as it will come out of tube and kind of “curl”. Just straighten it with your finger as it comes out of tube.
[/directions]

Leave a Reply